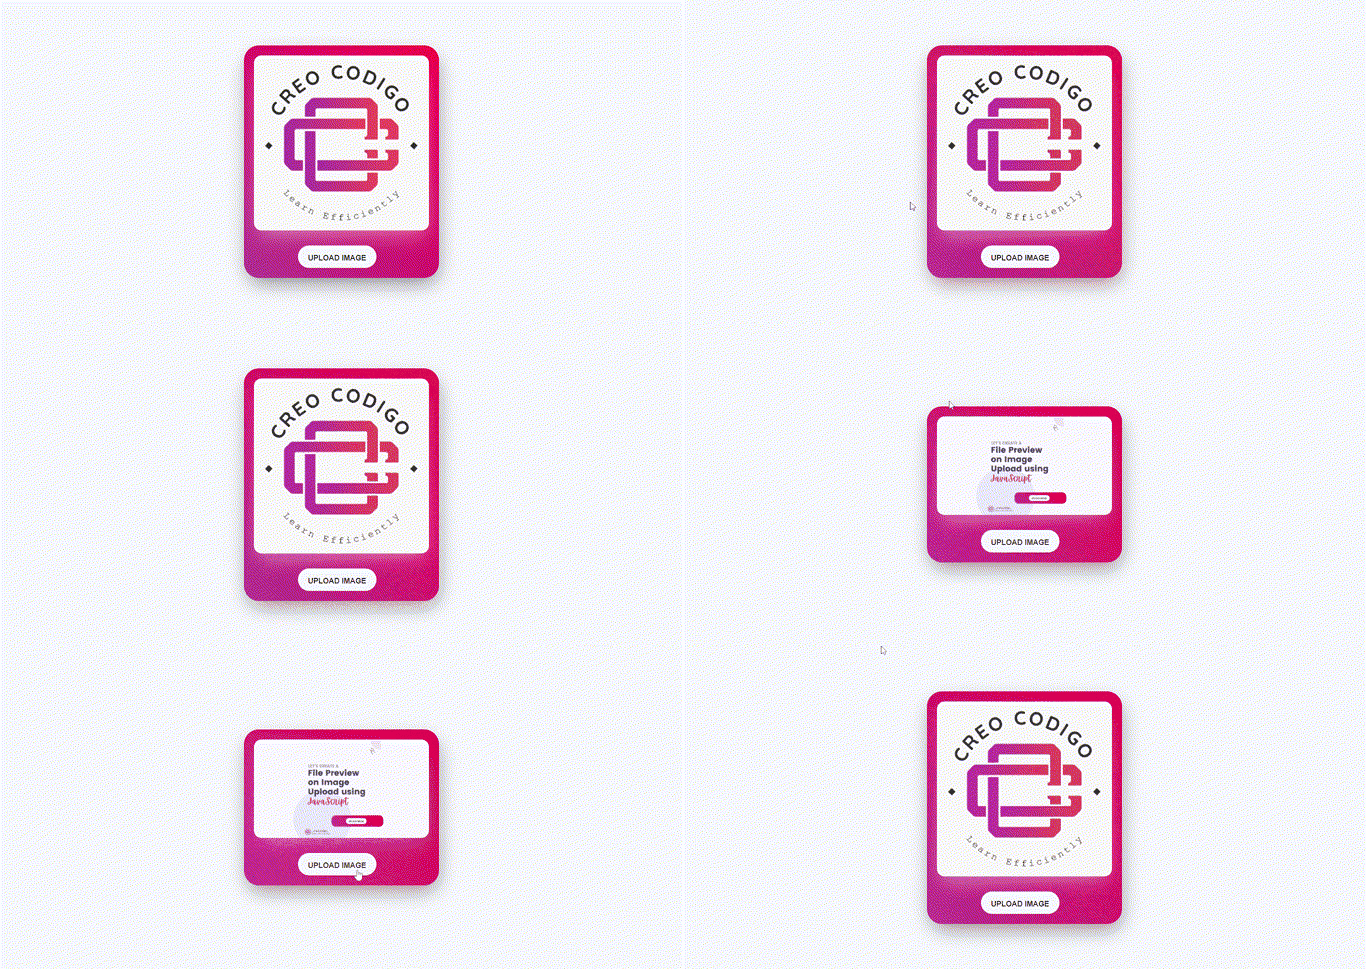
Hello Coders! Welcome to JS Project Blog. In this, we're going to see how you can add a button called "Upload Image" and once uploaded, It will show you the preview of that image above the button. This is a Simple JavaScript project styled differently. Showing the preview of the uploaded file helps the user to check whether the correct file has been uploaded or not. You can also show the file name as well.
Here's a preview-

That being said, let us get started.
Step - 1: Like always, create 3 files - index.html, style.css and script.js
Step - 2: Copy the below HTML code and paste it into your code editor.
HTML
<!DOCTYPE html>
<html lang="en">
<head>
  <meta charset="UTF-8">
  <meta name="viewport" content="width=device-width, initial-scale=1.0">
  <meta http-equiv="X-UA-Compatible" content="ie=edge">
  <link rel="stylesheet" href="style.css">
  <title>Image Preview on File Upload</title>

</head>
<body>
<div class="center">
    <div class="form-input">
        <div class="preview">
            <img id="file-ip-1-preview">
        </div>
        <label for="file-ip-1">Upload Image</label>
        <input type="file" id="file-ip-1" accept="image/*" onchange="showPreview(event);">
    </div>
</div>
<script src="script.js"></script>
</body>
</html>
Step - 3: Below is the CSS code for styling.
CSS
body {
  margin: 0px;
  height: 100vh;
  background: #f6f7fc;
}
.center {
  height: 100%;
  display: flex;
  align-items: center;
  justify-content: center;
}
.form-input {
  width: 350px;
  padding: 20px;
  background: linear-gradient(45deg,rgba(183, 64, 150, 1) 0%,rgba(255, 0, 69, 1) 100%
  );
  border-radius: 30px;
  box-shadow: 3px 16px 41px -8px rgba(0, 0, 0, 0.47);
}
.form-input input {
  display: none;
}
.form-input label {
  display: block;
  width: 45%;
  height: 45px;
  margin-left: 25%;
  line-height: 50px;
  text-align: center;
  background: #f6f7fc;

  color: #2f2f2f;
  font-size: 15px;
  font-family: "Open Sans", sans-serif;
  text-transform: Uppercase;
  font-weight: 600;
  border-radius: 50px;
  cursor: pointer;
}

.form-input img {
  width: 100%;
  display: none;
  margin-bottom: 30px;
  border-radius: 15px;
  box-shadow: 3px 16px 41px -8px rgba(255, 255, 255, 0.47);
}
Step - 3: Below is the jQuery code for adding and removing the class.
JS
function showPreview(event) {
  if (event.target.files.length > 0) {
    var src = URL.createObjectURL(event.target.files[0]);
    var preview = document.getElementById("file-ip-1-preview");
    preview.src = src;
    preview.style.display = "block";
  }
}
And that's it. You're done.
Let me know in the comments if you have any doubt related to this.
Follow @creocodigo for more projects and web related content.
If you find this useful, below are some other posts that I am sure you'll love

