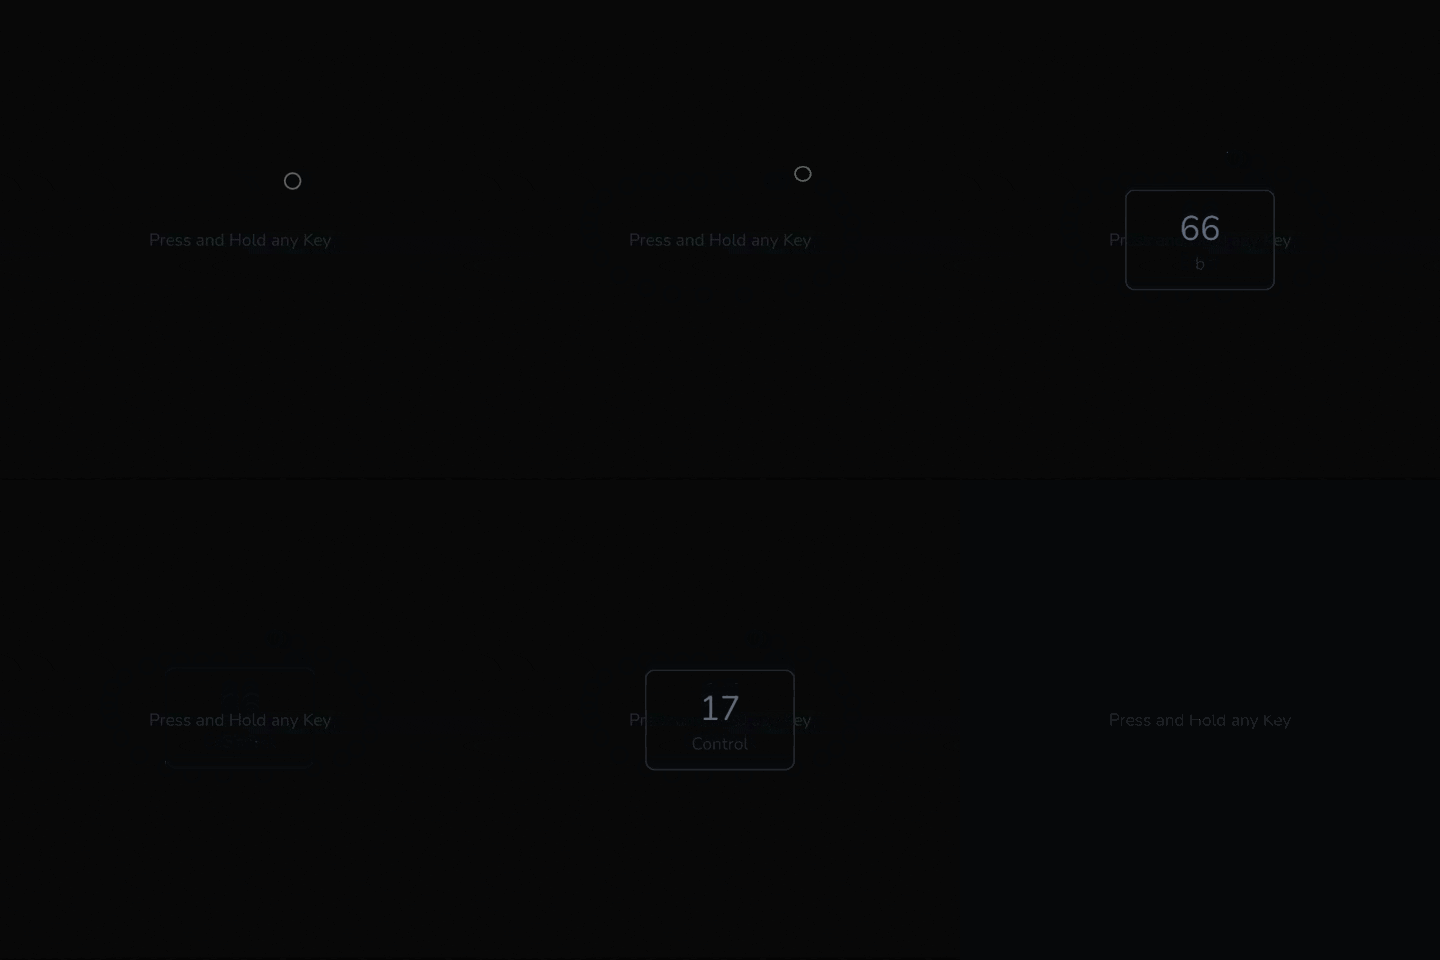
Hello Coders! Welcome to JS Project Blog. In this, we're going to see how to create a keycodes Detector in JavaScript. Many times in various project, you want to know which key is being pressed for logging purposes or for disabled ones so that they know what they're typing. This mini-project is made for such purposes. When you press any button on your keyboard, it will detect it and will show you on the screen along with the ASCII code of it.
Here's a preview-

That being said, let us get started.
Step - 1: Like always, create 2 files - index.html and style.css.
Step - 2: Copy the below HTML code and paste it into your code editor.
HTML
<!DOCTYPE html>
<html lang="en" >
<head>
  <meta charset="UTF-8">
  <title>keycodes</title>
  <link rel="stylesheet" href="./style.css">

</head>
<body>

<div class="tip">
  <p>Press and Hold any Key</p>
</div>
<div class="container">
  <div id="keycode"></div>
  <div id="key"></div>
</div>

  <script  src="./script.js"></script>

</body>
</html>
Step - 3: Below is the CSS code for styling.
CSS
@import url("https://fonts.googleapis.com/css?family=Nunito&display=swap");

body {
  margin: 0;
  height: 100vh;
  display: flex;
  justify-content: center;
  align-items: center;
  background: #080a0c;
  font-family: "Nunito", sans-serif;
}
.tip {
  position: absolute;
  top: 50%;
  left: 50%;
  transform: translate(-50%, -50%);
  color: #292d36;
}
.container {
  opacity: 0;
  width: 300px;
  height: 200px;
  border-radius: 20px;
  display: flex;
  flex-direction: column;
  justify-content: center;
  align-items: center;
  border: 3px solid #292d36;
  background: #080a0c;
  pointer-events: none;
}
#keycode {
  font-size: 70px;
  color: #626b7c;
}
#key, p {
  font-size: 35px;
  color: #292d36;
}

.reveal--animation {
  animation: reveal 0.35s forwards ease;
  pointer-events: all;
}

@keyframes reveal {
  0% {
    transform: translateY(-20%);
    opacity: 0;
  }
  100% {
    transform: translateY(0%);
    opacity: 1;
  }
}
Step - 3: Below is the JS code for applying the toggle functionality.
JS
const keyCodeEl = document.getElementById("keycode");
const keyEl = document.getElementById("key");
const container = document.querySelector(".container");

document.body.addEventListener("keydown", onKeyDown);
document.body.addEventListener("keyup", onKeyUp);

function onKeyDown(e) {
  const keyCode = e.keyCode || e.which;

  // " " => space
  const key = e.key === " " ? e.code : e.key;
  e.preventDefault();

  container.classList.add("reveal--animation");
  keyCodeEl.innerText = keyCode;
  keyEl.innerText = key;
}

function onKeyUp() {
  container.classList.remove("reveal--animation");
}
And that's it. You're done.
Let me know in the comments if you have any doubt related to this.
Follow @creocodigo for more projects and web related content.
If you find this useful, below are some other posts that I am sure you'll love

